A daily visual check
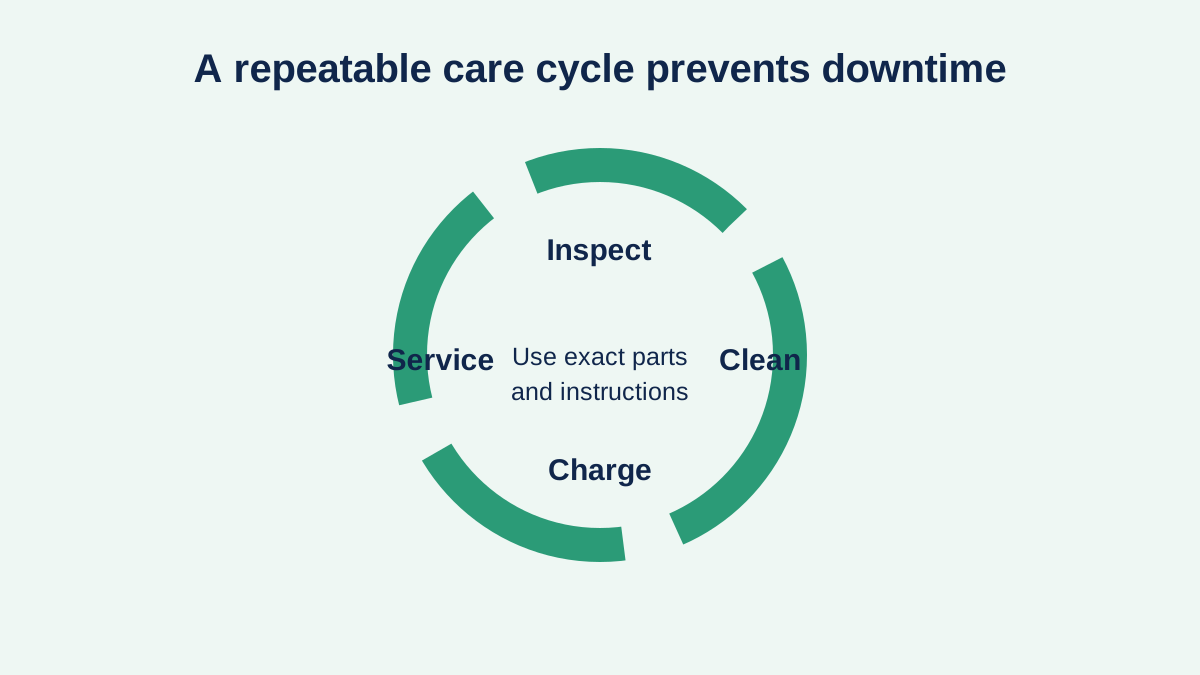
Before insertion, inspect the earpiece, wax guard, tubing, receiver wire and case. Wipe external surfaces with an appropriate dry cloth and confirm the device is undamaged. After removal, allow moisture to dissipate according to the instructions. Do not insert a damaged dome or exposed wire.
Wax guards, domes and earmolds
A blocked wax guard can make a working device seem weak or silent. Replacement methods vary, so use the correct part and tool. Domes must be securely attached and the correct size. Earmold tubing can harden or crack and may need clinic replacement. Never improvise a part that could remain in the ear canal.
Moisture and drying
Water resistance is not the same as waterproof operation. Remove devices for activities excluded by the manufacturer and use an approved drying method. Heat from ovens, hair dryers, radiators or a closed hot car can damage batteries, shells and electronics. Ask about a drying system when perspiration or humidity is persistent.
Power and charging
Keep disposable batteries away from children and pets and follow current packaging and disposal guidance. For rechargeable systems, clean and seat contacts as instructed and confirm the charging indicator. A swelling, overheating or damaged battery requires immediate manufacturer or professional guidance.
Troubleshooting sequence
Check power, correct left/right device, physical blockage, earpiece attachment, phone routing and program before changing many settings. Compare with the other ear only when appropriate. If sound is distorted, intermittent or painfully loud, stop and seek support rather than repeatedly increasing volume.
Build a service plan
Record serial numbers, warranty, provider, manufacturer support and replacement-part names. Keep a small travel kit and backup communication method. Schedule professional cleaning or tubing/receiver service according to need. A repeatable routine reduces downtime and makes a true device fault easier to identify.
Separate ear problems from device problems
If a hearing aid becomes uncomfortable, inspect for a displaced dome, damaged shell or sharp edge and stop wearing it until the issue is resolved. Persistent pain, drainage, bleeding, new fullness or sudden hearing change is not a routine cleaning problem. Contact an appropriate professional rather than treating the ear with an improvised tool or liquid.
When sound changes, compare the device with a listening check or manufacturer diagnostic if available, but do not place someone else’s device in the ear. A clinic can distinguish blockage, receiver failure, programming change and a change in hearing.
Create a travel and emergency kit
Carry compatible wax guards, domes or batteries, a cleaning cloth, charger and cable, drying container when appropriate, serial numbers and support contacts. Keep batteries and small parts safely away from children and animals. For air travel, carry essential equipment rather than checking it.
Include a non-device communication backup such as captions, a remote microphone receiver or written instructions. A maintenance plan cannot prevent every failure; it should make failures shorter and less disruptive.
Weekly and monthly review
Once a week, inspect supplies, charger cable, microphone ports, tubing and the fit of domes or earmolds. Clean the storage case and check whether spare parts match the exact device. Monthly, review recurring problems: one ear using more wax guards, a battery failing early or feedback returning. Patterns can reveal a fit or service issue that daily cleaning will not solve.
Do not change acoustic parts casually. A different dome, vent or receiver can change the fitting and may require programming or verification. Record what was replaced and when.
Care in work and school settings
Shared remote microphones and receivers need a separate cleaning and charging routine. Identify who can troubleshoot without exposing private health information. In dusty, wet or high-heat work, ask whether protective practices or a different device style is necessary. Store devices securely during required removal and maintain an accessible backup communication method.
Use a symptom log before service
Write the date, ear, environment, program, connected accessory and description of an intermittent problem. Note whether reseating the device, changing the power source or disconnecting the phone changed it. Do not repeatedly reproduce painful or dangerously loud sound. A concise log helps a clinic distinguish physical fit, moisture, acoustic blockage, wireless routing and internal failure. Bring the charger and any accessory involved, not only the hearing aids. After service, confirm what was cleaned, replaced or reprogrammed and repeat the original task. Retain repair receipts and warranty records with the serial numbers. This evidence shortens future troubleshooting and helps show whether a recurring fault requires a different repair strategy.
Sources and review notes
Sources were checked for this editorial update on October 12, 2026. External guidance can change; follow the linked source for the current version.
This page provides education, not an individual diagnosis, treatment plan, legal opinion or billing decision. Historical expert contribution is credited only where supported by the original project record; it does not imply review of this update.